How to Connect Oculus Quest 2 to a Projector: A Step-by-Step Guide
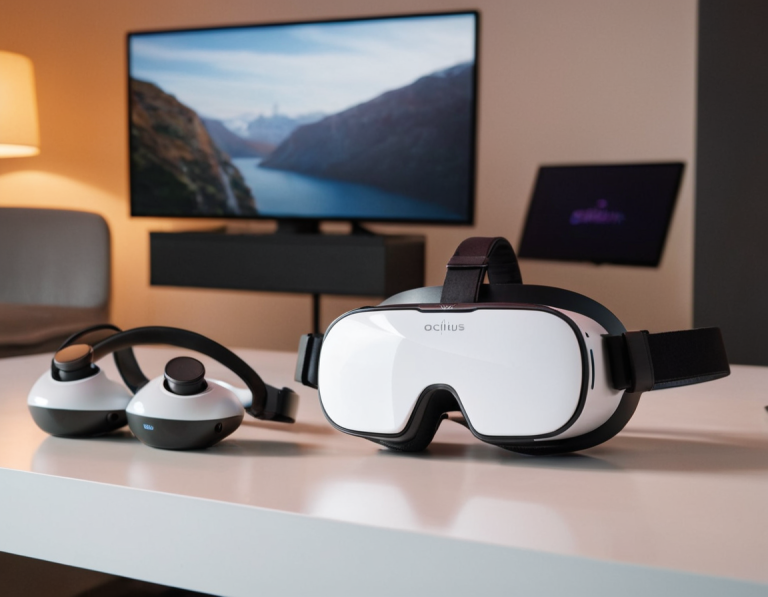
The Oculus Quest 2 is a remarkable virtual reality headset that offers an immersive experience for gaming, fitness, and social interaction. However, if you want to share that experience with a larger audience, connecting your Oculus Quest 2 to a projector can elevate your VR sessions to a whole new level. In this blog post, we’ll explore the methods to connect your Oculus Quest 2 to a projector, the benefits of doing so, and some tips for optimizing your setup.
Why Connect Oculus Quest 2 to a Projector?
Connecting your Oculus Quest 2 to a projector can provide several benefits:
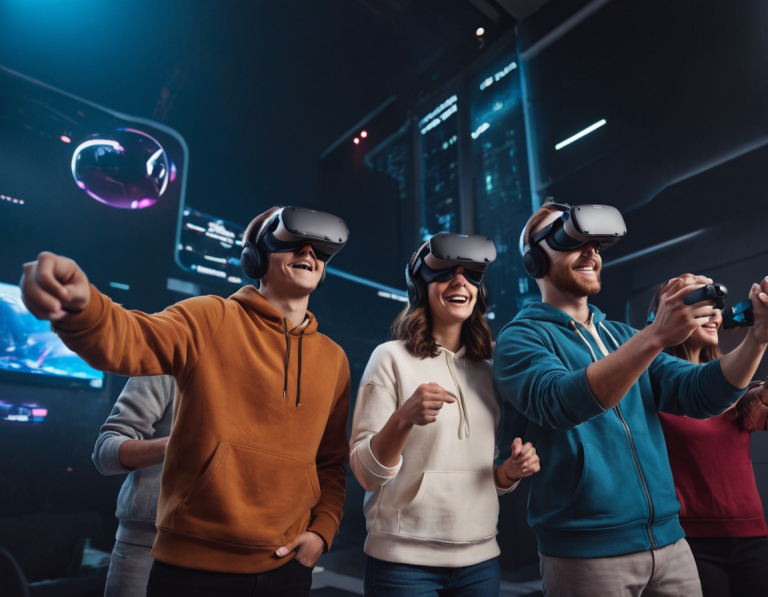
- Shared Experiences: Whether you’re hosting a gaming night, a workout session, or a VR movie marathon, projecting your VR experience allows others to see what you see, creating a more communal atmosphere.
- Visual Impact: A larger display can enhance the visual impact of VR experiences, making games and videos more immersive for everyone involved.
- Presentations and Demos: If you’re using the Oculus Quest 2 for educational purposes or demonstrations, projecting your screen can help convey your message more effectively.
Preparing for the Connection
Before you connect your Oculus Quest 2 to a projector, there are a few things you need to prepare:
Required Equipment
- Oculus Quest 2 Headset: Ensure your headset is fully charged and updated to the latest firmware.
- Projector: Choose a projector with the necessary ports for connection, such as HDMI.
- Casting Device: You’ll typically need a device capable of wirelessly casting the VR content to the projector. This could be a Chromecast, Smart TV with casting capabilities, or a computer connected to the projector.
- HDMI Cable: If you’re connecting through a wired method, ensure you have an HDMI cable.
Setting Up Your Projector
- Position the Projector: Place the projector in a suitable location where it can display on a wall or screen without obstructions. Ensure it’s at an appropriate distance for the best image quality.
- Connect to Power: Make sure your projector is plugged into a power source and turned on.
- Select Input Source: Use the projector’s remote or controls to select the correct input source (e.g., HDMI, wireless casting).
Methods to Connect Oculus Quest 2 to a Projector
There are two primary methods to connect your Oculus Quest 2 to a projector: wireless casting and wired connection.
Method 1: Wireless Casting
Wireless casting is one of the most convenient ways to connect your Oculus Quest 2 to a projector. Here’s how to do it:
- Connect the Casting Device:
- If using a Chromecast, connect it to the HDMI port of the projector and ensure it’s powered on.
- If using a Smart TV, ensure it’s connected to the same Wi-Fi network as your Oculus Quest 2.
- Connect Oculus Quest 2 to Wi-Fi:
- Put on your Oculus Quest 2 headset.
- Go to Settings > Wi-Fi and connect to the same network as your casting device.
- Cast from Oculus Quest 2:
- Press the Oculus button on your controller to open the universal menu.
- Select Share and then choose Cast.
- You’ll see a list of available devices. Select your Chromecast or Smart TV.
- Once connected, your VR view will be mirrored onto the projector.
Method 2: Wired Connection
For those who prefer a wired connection, you can connect your Oculus Quest 2 directly to a computer that’s linked to the projector. Here’s how:
- Connect the Oculus Quest 2 to the PC:
- Use a USB-C to HDMI adapter or a compatible cable to connect the Oculus Quest 2 to your computer.
- Ensure your computer is also connected to the projector via HDMI.
- Set Up Oculus Link:
- Put on your headset and navigate to the Settings.
- Select Devices and then Oculus Link.
- Enable Oculus Link, which will allow your headset to function as a PC VR headset.
- Project the Computer Screen:
- Make sure your computer is set to project its display to the projector.
- This can typically be done by pressing Windows + P and selecting the appropriate display option (e.g., Duplicate or Extend).
- Launch VR Content:
- Open your VR applications on the PC, and they will be displayed on the projector.
Tips for Optimizing Your VR Projection Experience
- Adjust Projector Settings: Ensure your projector settings are optimized for brightness, contrast, and resolution for the best visual quality.
- Create a Safe Play Area: Make sure there is enough space around the projector for the player to move safely. Remove any obstacles that could cause accidents.
- Use High-Quality Audio: If the projector has speakers, test the sound quality. Consider using external speakers for better audio immersion, particularly for games or movies.
- Lighting Conditions: Dim the lights in the room to improve visibility on the projector. Excessive ambient light can wash out the image.
Troubleshooting Common Issues
- Casting Failures: If casting fails, ensure both devices are on the same Wi-Fi network. Restart the Oculus Quest 2 and the casting device if necessary.
- Lag or Latency: For wireless casting, ensure your Wi-Fi connection is strong. Close other applications that might be using bandwidth.
- Projector Not Displaying: If the projector isn’t displaying, check the connection and input source. Ensure the HDMI cable is securely connected.
Resources for Further Assistance
- Oculus Support: Oculus Help Center for troubleshooting and detailed guides.
- Projector User Manuals: Refer to your projector’s user manual for specific connection instructions.
- YouTube Tutorials: Many users share their experiences and tips on platforms like YouTube, which can be particularly helpful for visual learners.
Conclusion
Connecting your Oculus Quest 2 to a projector opens up a new world of possibilities for sharing your VR experiences. Whether for gaming, workouts, or presentations, following the methods outlined in this guide can help you set up your system easily and effectively. With the right preparation and setup, you can enjoy immersive experiences that captivate audiences, making your VR adventures even more exciting. Happy projecting!

