How to Adjust IPD on Oculus Quest 2: A Comprehensive Guide
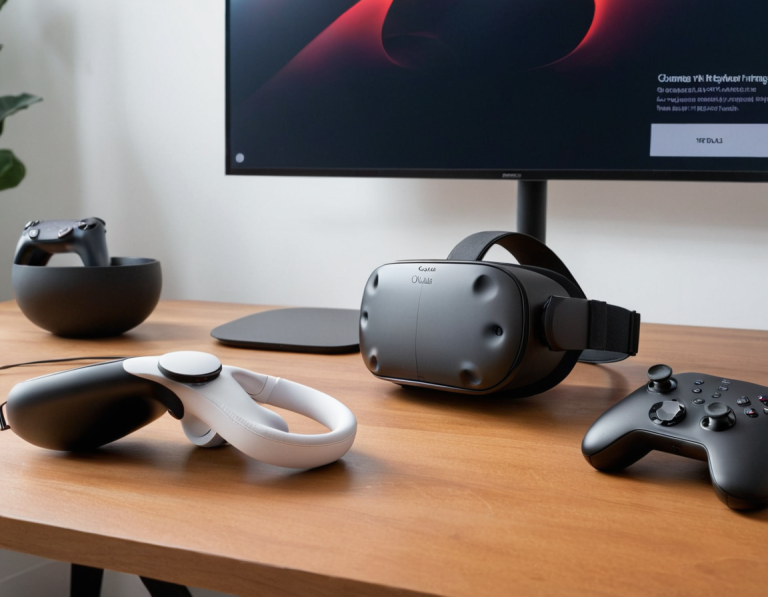
The Oculus Quest 2 has become one of the most popular VR headsets available, praised for its standalone capabilities and immersive experiences. One of the key factors in achieving optimal visual clarity and comfort while using the Quest 2 is adjusting the Interpupillary Distance (IPD). In this guide, we will explore what IPD is, why it’s important, and provide a step-by-step guide on how to adjust it on your Oculus Quest 2, including troubleshooting tips and resources for further assistance.
1. Understanding IPD
What is IPD?
Interpupillary Distance (IPD) refers to the distance between the centers of your pupils. This measurement is crucial in VR as it affects how the lenses in the headset align with your eyes. Proper IPD adjustment ensures that the virtual images are correctly aligned with your natural vision, reducing eye strain and improving overall visual clarity.
Why is IPD Important in VR?
- Visual Clarity: Proper IPD adjustment helps in achieving a clear and sharp image, preventing blurriness.
- Comfort: Incorrect IPD settings can lead to eye strain and discomfort, making extended VR sessions unpleasant.
- Depth Perception: Accurate IPD alignment ensures better depth perception and a more immersive experience.
2. How to Adjust IPD on Oculus Quest 2
The Oculus Quest 2 features three IPD settings that can be adjusted manually. Here’s how you can fine-tune the IPD settings for optimal comfort and clarity:
2.1. Locate the IPD Adjustment Slider
- Put on the Headset: Wear the Oculus Quest 2 headset as you would during normal use.
- Find the IPD Adjustment Mechanism: The IPD adjustment slider is located on the inside of the headset, near the lenses. It’s a small tab that can be moved to adjust the distance between the lenses.
2.2. Adjust the IPD Setting
- Gently Slide the Tab: Use your fingers to gently slide the IPD adjustment tab. You will feel it click into place at three different positions. These positions represent the three preset IPD settings: 58mm, 63mm, and 68mm.
- Test Each Setting: After adjusting to a new setting, take a moment to check the clarity of the visuals. Look at various objects and text in the VR environment to see which setting provides the best clarity and comfort.
2.3. Find the Optimal Setting
- Personal Preference: The optimal IPD setting can vary based on individual preferences and the specific distance between your pupils. Adjust the setting while wearing the headset and look for the clearest and most comfortable visual experience.
- Check for Distortion: If you experience visual distortion or discomfort, try another IPD setting. It might take a few adjustments to find the one that works best for you.
Resources:
- Oculus Quest 2 User Manual (Official guide)
- Oculus Quest 2 IPD Adjustment Tutorial (Video guide)
3. Troubleshooting Common IPD Issues
Even with proper adjustment, you might encounter issues with IPD settings. Here are some common problems and solutions:
3.1. Blurriness
- Check IPD Setting: Ensure that you have selected the IPD setting that aligns with your natural IPD measurement. If blurriness persists, try adjusting to the other two settings to see if it improves.
- Adjust Headset Fit: Ensure that the headset is sitting correctly on your face. Proper fit and alignment with your eyes can help reduce blurriness.
3.2. Eye Strain or Discomfort
- Correct Setting: Incorrect IPD settings can cause eye strain. Adjust the IPD slider until you find the setting that provides the most comfortable visual experience.
- Headset Fit: Make sure the headset is not too tight or too loose. Adjust the straps to ensure a comfortable and stable fit.
3.3. Lens Fogging
- Clean Lenses: Fogging can occur if the lenses are dirty. Use a microfiber cloth to clean the lenses gently.
- Ventilation: Ensure that the area around your eyes is well-ventilated to minimize fogging.
Resources:
4. Measuring Your IPD for Accurate Adjustment
If you want to determine your exact IPD measurement for more precise adjustment, you can use the following methods:
4.1. Using a Ruler or Measuring Tape
- Find a Ruler: Use a ruler or a measuring tape with millimeter markings.
- Measure IPD: Stand in front of a mirror and measure the distance between the centers of your pupils. This measurement is your IPD.
4.2. Using an IPD Measurement Tool
- Online Tools: There are online tools and mobile apps designed to measure IPD. Follow the instructions provided by these tools for an accurate measurement.
Resources:
5. Conclusion
Adjusting the IPD on your Oculus Quest 2 is a crucial step in ensuring a comfortable and immersive VR experience. By following the steps outlined above, you can achieve optimal visual clarity and reduce eye strain. Remember that finding the right IPD setting might require some experimentation, and it’s important to adjust both the IPD settings and the headset fit for the best results.
For additional support and information, refer to the official Oculus resources and community forums. As VR technology continues to advance, staying informed and making adjustments to your equipment will help you get the most out of your virtual reality adventures.
Resources:
By understanding and adjusting your IPD, you can enhance your VR experience and enjoy the virtual world with greater comfort and clarity.