How to Connect Oculus Quest 2 to a Mac: A Comprehensive Guide
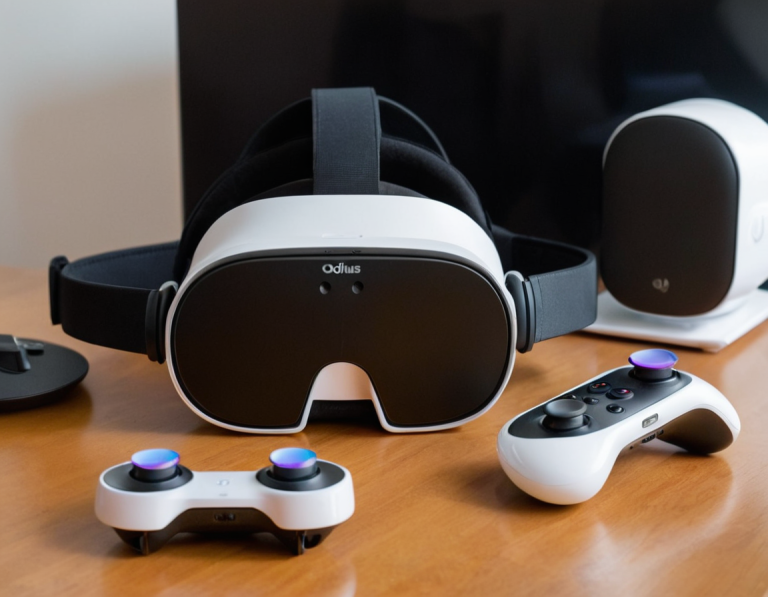
The Oculus Quest 2 is a versatile standalone VR headset that can be used for a wide array of applications, from immersive games to productivity tools. While the Quest 2 is designed primarily for use with Windows PCs, connecting it to a Mac can also be useful for a range of purposes, such as VR development, streaming content, or managing files. This guide will walk you through the steps needed to connect your Oculus Quest 2 to a Mac, including troubleshooting tips and useful resources.
Understanding the Oculus Quest 2 and Mac Connectivity
The Oculus Quest 2 is a standalone device that does not require an external PC for most functions, but it can be connected to a computer to enhance its capabilities. On a Mac, the process involves using specific tools and settings to enable the connection. While Oculus does not provide native support for MacOS, there are workarounds that can help you bridge this gap.
Connecting Oculus Quest 2 to a Mac for Development and File Transfer
1. Using Oculus Link
Oculus Link is a feature that allows the Oculus Quest 2 to connect to a PC via a USB cable, enabling you to play PC VR games and access additional content. While Oculus Link is officially supported only on Windows, you can use alternatives to connect your Quest 2 to a Mac.
Using a USB Cable:
- Ensure Compatibility: You’ll need a high-quality USB-C cable. Oculus recommends using their official Link cable, but any USB-C cable that supports data transfer will work.
- Install Virtual Desktop: To use Oculus Link on a Mac, you’ll need to use third-party software like Virtual Desktop. Install the Virtual Desktop application on your Mac and on your Oculus Quest 2 headset. This software allows you to stream PC VR content wirelessly.
- Virtual Desktop for Oculus Quest 2: Available on the Oculus Store.
- Virtual Desktop for Mac: Download from the Virtual Desktop website.
- Set Up Virtual Desktop:
- Open Virtual Desktop on your Mac and follow the setup instructions.
- Ensure both your Mac and Oculus Quest 2 are connected to the same Wi-Fi network for optimal performance.
- Open Virtual Desktop on your Oculus Quest 2 and connect to your Mac.
- Connect via USB Cable:
- Plug the USB-C cable into your Mac and your Oculus Quest 2.
- On your Oculus Quest 2, you may need to grant permission to allow data access.
- Configure Settings: Open the Oculus app on your Mac (if available) and configure the settings to enable data transfer or VR content streaming.
2. Using SideQuest
SideQuest is a third-party application that allows you to sideload and manage apps on your Oculus Quest 2. It can also facilitate file transfers between your Mac and your headset.
Setting Up SideQuest:
- Install SideQuest:
- Download SideQuest from the SideQuest website.
- Follow the installation instructions for MacOS.
- Enable Developer Mode:
- Open the Oculus app on your smartphone.
- Go to
Settings>More Settings>Developer Modeand toggle it on.
- Connect Your Oculus Quest 2:
- Connect your Oculus Quest 2 to your Mac using a USB-C cable.
- On your headset, allow USB debugging access when prompted.
- Transfer Files:
- Open SideQuest on your Mac.
- You can now use SideQuest to browse and manage files on your Oculus Quest 2. You can also install or uninstall applications.
3. Using Air Link (Wireless Streaming)
Air Link allows you to wirelessly connect your Oculus Quest 2 to a PC for playing PC VR games. While Air Link is optimized for Windows PCs, you can still use third-party solutions to facilitate a similar experience on Mac.
Setting Up Air Link:
- Install Virtual Desktop: As with Oculus Link, install Virtual Desktop on your Mac and Oculus Quest 2.
- Configure Virtual Desktop:
- Open Virtual Desktop on your Mac and configure it for streaming.
- Ensure your Mac and Oculus Quest 2 are on the same high-speed Wi-Fi network.
- Connect via Virtual Desktop:
- Open Virtual Desktop on your Oculus Quest 2.
- Connect to your Mac and use the streaming features to access and play VR content.
Troubleshooting Connection Issues
- Check USB Cable Quality: Ensure you’re using a high-quality USB-C cable that supports data transfer, not just charging.
- Update Software: Make sure both your Oculus Quest 2 and Mac software are up to date to avoid compatibility issues.
- Network Stability: For wireless solutions, ensure you have a stable and fast Wi-Fi connection to minimize latency and connectivity issues.
- Permissions: Verify that you’ve granted necessary permissions on your Oculus Quest 2 for data access and debugging.
- Consult Documentation: Refer to the Oculus Support Center and SideQuest FAQ for detailed troubleshooting steps.
Additional Resources
- Oculus Support Center: For help with Oculus hardware and software, visit the Oculus Support Center.
- Virtual Desktop: For detailed setup instructions, visit the Virtual Desktop website.
- SideQuest Documentation: Access tutorials and support for SideQuest at the SideQuest website.
- Mac VR Community: Engage with other VR users on forums like Reddit’s r/OculusQuest and the Oculus Community Forums.
Conclusion
Connecting your Oculus Quest 2 to a Mac involves leveraging third-party tools and workarounds, as native support is primarily geared towards Windows PCs. Whether you’re using Oculus Link with Virtual Desktop, managing files with SideQuest, or exploring wireless streaming options, these methods can help you maximize the capabilities of your Oculus Quest 2 while working with a Mac. By following the steps outlined and utilizing the provided resources, you can enhance your VR experience and integrate your Quest 2 with your Mac for a more versatile and immersive setup.


