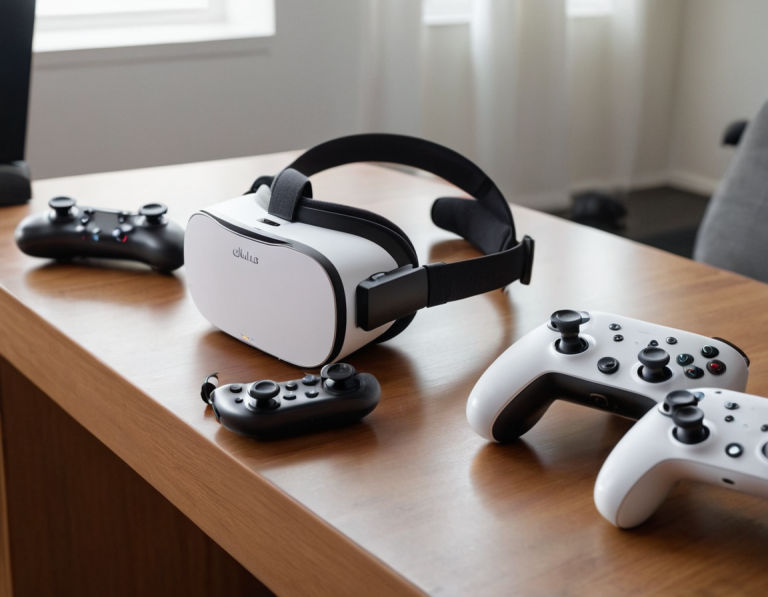
How to Set Up Parental Controls on Oculus Quest 2: A Comprehensive Guide
As virtual reality continues to grow in popularity, the Oculus Quest 2 has become a go-to device for gamers of all ages. However, with immersive experiences come certain responsibilities, especially when it comes to ensuring a safe and appropriate environment for younger users. Setting up parental controls on the Oculus Quest 2 is essential for parents who want to manage their children’s VR experiences effectively. This guide will walk you through the steps to set up parental controls, explain their importance, and provide additional resources for keeping your child safe in virtual reality.
Why Set Up Parental Controls?
Before we dive into the setup process, it’s crucial to understand why parental controls are important:
- Content Management: VR can expose users to various content, some of which may not be suitable for children. Parental controls allow you to restrict access to certain apps and experiences.
- Screen Time Regulation: Too much screen time can have adverse effects on physical and mental health. Setting limits helps promote a balanced lifestyle.
- Safety Features: Parental controls can enhance the safety of your child by limiting their exposure to online interactions and preventing them from engaging in potentially harmful behaviors.
- Monitoring Usage: Understanding how your child interacts with VR can help you guide their experiences and ensure they are engaging with appropriate content.
Setting Up Parental Controls on Oculus Quest 2
Step 1: Create an Oculus Account for Your Child
- Log In to Your Account: Start by logging into your Oculus account on the Oculus app on your smartphone or the Oculus website.
- Navigate to Settings: On the app, go to the Settings section and look for the Account option.
- Add a Child Account:
- Select Add a Child Account.
- Follow the prompts to create a new account for your child. You’ll need to provide their birth date to ensure age-appropriate restrictions.
Step 2: Set Up the Oculus Guardian System
The Guardian system helps define safe play areas and avoid accidents while using the headset.
- Turn on the Oculus Quest 2: Put on the headset and follow the initial setup instructions.
- Define Your Play Area:
- Navigate to Settings > Device > Guardian.
- Follow the on-screen instructions to set up your Guardian boundary. This step is crucial for ensuring safe movement during VR experiences.
Step 3: Access Parental Controls
Once you have created a child account and set up the Guardian system, you can access the parental controls.
- Open Settings: With the headset on, navigate to Settings from the main menu.
- Select Parental Controls: In the Settings menu, look for the Parental Controls option.
- Enable Parental Controls: Toggle the switch to enable parental controls. You may need to enter a PIN to access and modify these settings.
Step 4: Customize Restrictions
Now that parental controls are enabled, you can customize various restrictions based on your preferences:
- App Restrictions:
- You can choose which apps and games your child is allowed to access. This is particularly important for blocking any content that may not be age-appropriate.
- Social Features:
- Decide whether your child can interact with friends in VR or engage in multiplayer experiences. You can restrict these features to ensure safe interactions.
- Purchases and Downloads:
- Set restrictions on in-app purchases or downloads to prevent unauthorized transactions. This can help you manage any unexpected costs.
Step 5: Monitor Usage
After setting up parental controls, it’s essential to monitor your child’s usage regularly.
- Check Activity: Use the Oculus app on your smartphone to check your child’s activity. You can see what apps they’ve used and for how long.
- Adjust Settings as Needed: Based on your observations, adjust the parental controls as needed. Open communication with your child about their experiences in VR can also help you understand their needs and preferences.
Tips for Effective Parental Control Management
- Engage in Conversations: Talk to your child about their VR experiences. Understanding what they enjoy can help you set more effective boundaries.
- Set Screen Time Limits: Establish guidelines for how long your child can spend in VR. Encourage breaks to avoid fatigue and maintain a healthy lifestyle.
- Explore Together: Participate in VR experiences with your child. This not only allows you to monitor their activity but also strengthens your bond and enhances their enjoyment.
- Stay Informed: Keep yourself updated on the latest VR games and experiences available on the Oculus Quest 2. Being knowledgeable about what content is available will help you make informed decisions about restrictions.
Additional Resources
- Oculus Support: For more detailed instructions and troubleshooting, visit the Oculus Support Page.
- Family Center: Oculus has a Family Center where you can find additional resources and tips for managing your child’s VR experience.
- Online Safety Resources: Websites like Common Sense Media provide insights and reviews on age-appropriate content, helping you make informed decisions.
Conclusion
Setting up parental controls on the Oculus Quest 2 is an essential step in creating a safe and enjoyable virtual reality experience for your child. By following the outlined steps, you can effectively manage the content they access, regulate screen time, and monitor their activity. Open communication and involvement in your child’s VR experiences will further enhance their enjoyment and safety. With these measures in place, you can rest assured that your child can explore the exciting world of VR in a secure environment.
As technology continues to evolve, staying proactive about your child’s online interactions and experiences is crucial. By leveraging the tools and resources available, you can foster a positive VR experience that promotes both fun and safety. Happy exploring!