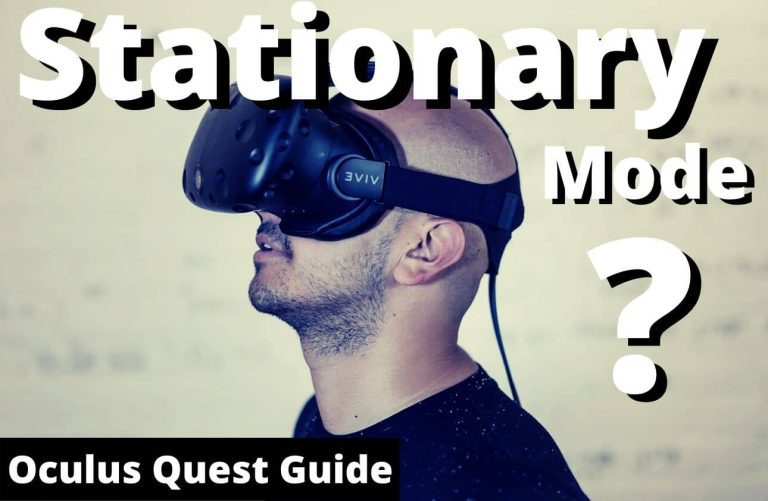
How to View Pictures on Oculus Quest 2? Immersive Tips!
To view pictures on Oculus Quest 2, navigate to the ‘Gallery’ app in your home menu. Once there, you can browse and view your images in VR.
Exploring your favorite images in virtual reality adds an immersive dimension to your photo-viewing experience. The Oculus Quest 2 makes this possible with its intuitive interface and high-resolution display, offering a unique way to relive memories or view artistic content.
Accessing your personal snapshots or professional captures on this platform is straightforward, thanks to the built-in Gallery application. This feature enhances the versatility of the Oculus Quest 2, not only as a gaming device but also as a personal media viewer. Users can seamlessly transition from the thrill of gameplay to the joy of photo browsing, all within the comfort of virtual reality. Engaging with your visual content has never been as captivating as it is with the Quest 2’s expansive viewing field and crystal-clear optics.
Getting Started With Oculus Gallery
Navigating the Oculus Gallery on your Oculus Quest 2 is a seamless experience. Upon opening the app, you’ll see your media files organized efficiently. With intuitive controls, you can swipe through photos, select albums, and view your memories in VR. The interface emphasizes user-friendliness and immersion, ensuring that every interaction is as enjoyable as the last.
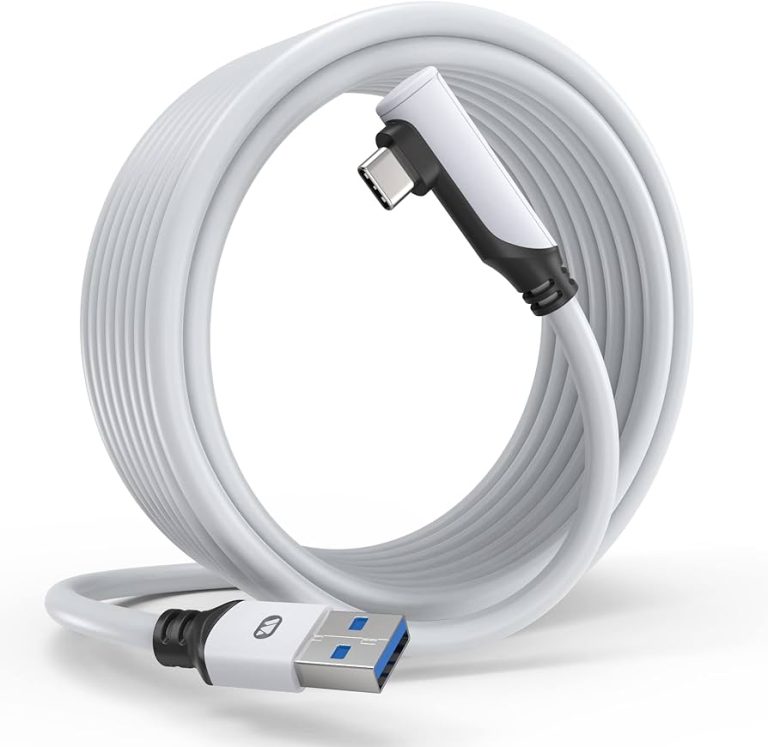
Transferring your favorite photos to the Oculus Quest 2 involves a straightforward process. Connect the headset to your computer using a USB cable. Once detected, use your computer’s file system to drag and drop photos into the Quest 2’s storage. Ensure the device is in file transfer mode for a successful transfer. Disconnect properly after the transfer is complete to safeguard your files and device integrity.
| Supported Format | Details |
|---|---|
| JPEG | Widely used for its balance between quality and file size |
| PNG | Offers transparency and lossless compression |
| BMP | Suitable for high-quality, uncompressed images |
| GIF | Best for animated images |

Credit: www.cnn.com
Customizing Your Viewing Experience
Customizing your viewing experience on the Oculus Quest 2 is straightforward and can significantly enhance your enjoyment. Begin by adjusting the display settings to optimize image clarity and color. Users can easily alter the brightness level, enabling the perfect balance for both comfort and visual impact. Additionally, the contrast can be tweaked to ensure deeper blacks and more vibrant colors in your images.
For a truly personalized gallery, the virtual reality (VR) environment allows you to create a unique showcase of your favorite pictures. Through various VR applications, you can position your photographs in a digital space, arranging them to your liking, as if they were hanging in a private exhibition. This immersive way of viewing allows for a deeper connection with your memories and artwork.
| Setting | Adjustment | Result |
|---|---|---|
| Brightness | Personal preference based on ambient light | Comfortable viewing without straining the eyes |
| Contrast | Increased or decreased for depth | Enhanced depth perception in images |
Tips For A Seamless Photo-viewing Session
Creating playlists for your photo slideshows on the Oculus Quest 2 enhances the viewing experience. Start by organizing your favorite images into a dedicated folder on your computer. Then, using compatible VR media management software, transfer these images to your headset’s gallery. Within the software, you’ll find options to create photo playlists that can be played in sequence, offering a personalized and enjoyable slideshow. Remember, having your photos sorted beforehand streamlines the process.
Configuring ambient settings is key to an immersive photo-viewing session. Oculus Quest 2 allows users to tailor their environment for optimal viewing comfort. Adjust the background lighting and color schemes to complement your slideshow. These elements greatly enhance the mood and can simulate a virtual environment akin to a digital photo frame or gallery. Through the device settings, tweak these parameters to suit your preferences for a captivating display.
Navigating your photos with hand gestures provides a convenient and intuitive way to control your photo-viewing experience on the Oculus Quest 2. Ensure your device’s firmware is up-to-date for the best hand tracking performance. With simple gestures, you can swipe through your images, zoom in and out, and even select specific photos to view in more detail. This feature not only makes the experience interactive but also significantly more enjoyable.
Read More – How to Cast Oculus Quest 2 to LG TV?
Sharing Your Vr Photos
Linking social media accounts to your Oculus Quest 2 enables a seamless way to share your virtual reality experiences with friends and family. Initiating this link can be done directly through the VR interface, accessing the settings menu, and selecting the appropriate social platform, like Facebook. This method provides an effortless way to post pictures and let others glimpse into your immersive world.
Creating a virtual gallery is a unique approach to host viewings for friends and family. This method transforms the experience from passive viewing to interactive participation. By utilizing VR-specific apps or platforms, you can generate an immersive environment where your photos are displayed in a gallery-style format, allowing visitors to navigate and explore your captured moments as if walking through an art exhibit.
Troubleshooting Common Photo-viewing Issues
Oculus Quest 2 users may encounter photo format compatibility issues when trying to view pictures. The device supports a select range of file types, and ensuring your photos are in a compatible format, such as JPEG or PNG, is crucial. Conversion tools can help transform unsupported formats into ones that the Oculus Quest 2 can display seamlessly.
Display and orientation glitches can detract from the virtual reality experience. These problems often arise from incorrect settings or corrupted files. Check the photo’s properties and edit the orientation data if necessary. Resetting the VR headset and ensuring the latest firmware may also resolve these glitches.
To enhance photo resolution on the Quest 2, be sure that your images follow the recommended resolution guidelines. High-quality images will significantly improve your viewing experience in VR. Using editing software to upscale photos can be beneficial, but remember to preserve the original aspect ratio to avoid any distortion.
Frequently Asked Questions Of How To View Pictures On Oculus Quest 2?
Can You View Photos On Oculus Quest 2?
Absolutely, you can view photos on Oculus Quest 2. Transfer your images to the device using a compatible cable or via cloud storage. Then access them through the Oculus Gallery app.
How To Access Oculus Gallery For Pictures?
To access Oculus Gallery, put on your headset, navigate to the apps section, and select “Oculus Gallery”. There, you can browse and view your uploaded pictures.
What Image Formats Does Oculus Quest 2 Support?
Oculus Quest 2 supports popular image formats like JPEG, PNG, BMP, and others. Ensure your photos are in a compatible format for seamless viewing.
Can I Share Pictures On Oculus Quest 2?
Yes, you can share pictures on Oculus Quest 2. Use the sharing feature in Oculus Gallery to send photos to friends or post them on social media platforms that support VR content.
Conclusion
Exploring your photo gallery on the Oculus Quest 2 can be a breeze with the right steps. Whether sharing memories with friends or reliving moments solo, VR adds a unique twist. Remember, regular updates and apps enhance your viewing experience.
Embrace this immersive way to enjoy your pictures, transforming how we relive cherished memories.